OK I really didn’t have a very solid idea of where the raised beds will go and what would i be planting in them when i dug the first hole. But once you stare at something long enough, imagination becomes plausible ideas and they slowly take root in the dusty patch. I had previously mentioned that I had a 3 week hiatus from toiling the land. Besides zapping kikuyu heads and other weedy stuff that were sprouting out, there was little else but to sit tight, keep the little one occupied during her summer school break and think think think.
Layout
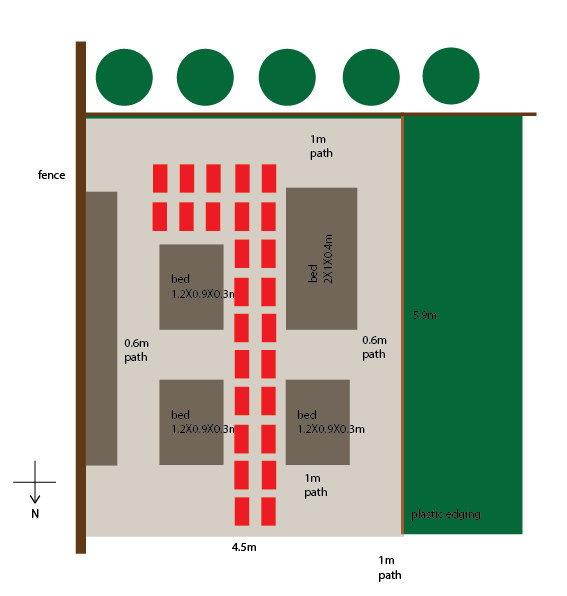
So after the nth iteration and consultations with gardening enthusiasts on facebook, this was to be the final layout of the vege garden. The priority is to provide a spacious, inviting look to the garden. Since I had no prior gardening experience (dont think spring onions in pots count for much), i decided to design the space first…maximising the full sun I’d get almost year round by orientating the beds in a N-S direction, and making sure that the measurements work out to allow walking and working spaces within.
Calculated decisions – what raw material are required for the garden
- type of soil – i opted for veg ‘supermix’ soil since that’s the most suitable (or best as claimed) soil for growing veg. i was also told that it’d be packed with the good stuff for veg and will take a while before giving the soil another boost
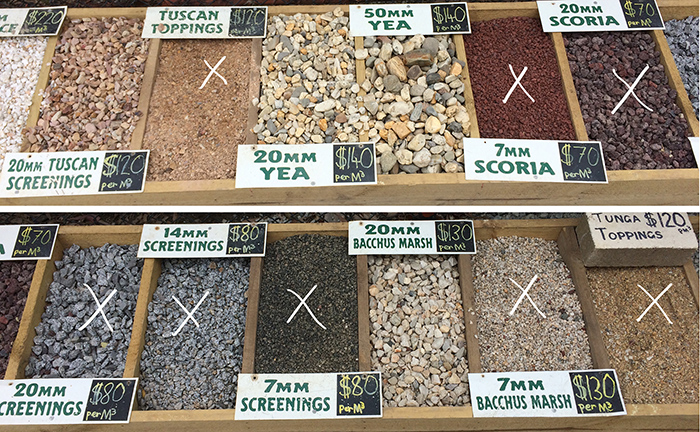
- type of aggregate and toppings – and my initial thoughts was “hey i just wanted to pour gravel”. Ok that was wrong wrong wrong….I learnt that there’s a lot more work and decisions to be made regarding the type of material to use. One thing for certain, big sized pebbles are out as they will have bigger spaces between them and over time traps more dirt and from dirt grows…..WEED! Other than that it’d be tough to push through a wheelbarrow over large pebbles due to the lack of grip. After much googling and consultation with DIY enthusiasts i learnt that i would need to place a layer of crushed rocks (2mm aggregate) before i can put on pavers and then followed by a layer of toppings (7mm coldstream) for a complete ‘nicer’ look
- type of weed barrier – so yah what happens after the 3 week of weed blitz? unfortunately nature always come up tops and man can only come up with measures to slow down the eventuality. like i said after a humbling experience yanking out as much kikuyu as i could, i was not about to just let them retake the plot. there are some who are adamant that no plastic barrier should be used in a garden as it would be damaging to the soil below. Others propose more natural environmentally friendly options of using newspaper (thick), cardboard or even mulch to form that barrier. i decided that i’d do both for the extra mileage in delaying the coming of weed.
The candid Bunnings staff also advised to have a layer of garden lime spread over the areas where the beds will be placed. Since these areas will not have a physical barrier between the ground and the veg soil that goes on top, it’s imperative to make sure that all remaining roots of the weed are ‘burnt out’ by the application of the lime.
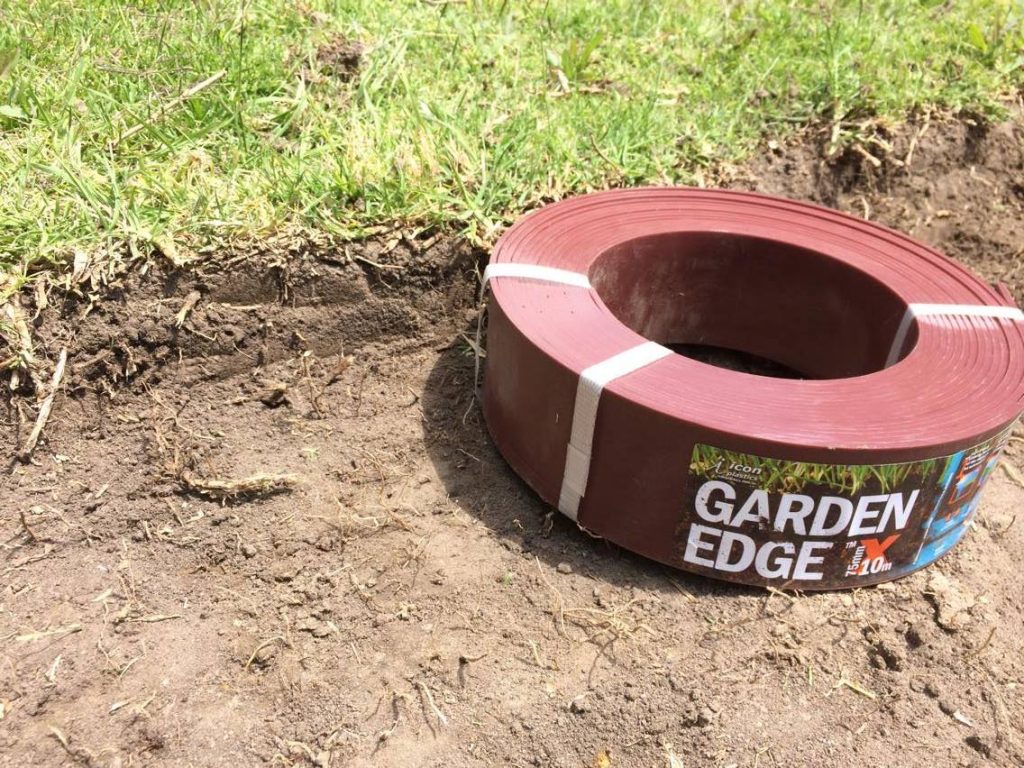
- type of edging – the initial idea was to use pine sleepers to as edging for the side plot and as barrier from the existing lawn to the man-made area. i had initially placed a roll of plastic edging for the barrier between the vege garden and the lawn. but it turns out that it warps under the summer heat and the barrier would not stay nice and straight (sigh). Subsequently I opted for a wavey corrugated metal edging for the side bed.